Rahul
 LeetCode #155: Min Stack — Design a Stack with O(1) Minimum Retrieval
 LeetCode #20: Valid Parentheses — Master the Stack Pattern
 LeetCode #15: 3Sum — Master Sorting, Two Pointers and Duplicate Handling
 Instruction vs Context in AI Prompts: How to Tell AI What to Do and What Information to Use
 Rust Structs and Enums: Building Powerful Data Models
 Dissecting the High-Level System Architecture of Booking.com
 Kanban vs. Scrum: Which Agile Methodology to Choose?
 The Scaling Journey of LinkedIn: From Startup to Professional Powerhouse
 Mastering Code Review: A Guide for Reviewers and PR Creators
 ChatGPT: Unveiling the Power of AI in Conversational Experiences with Kairos Coders

Kairos Coders are here to help
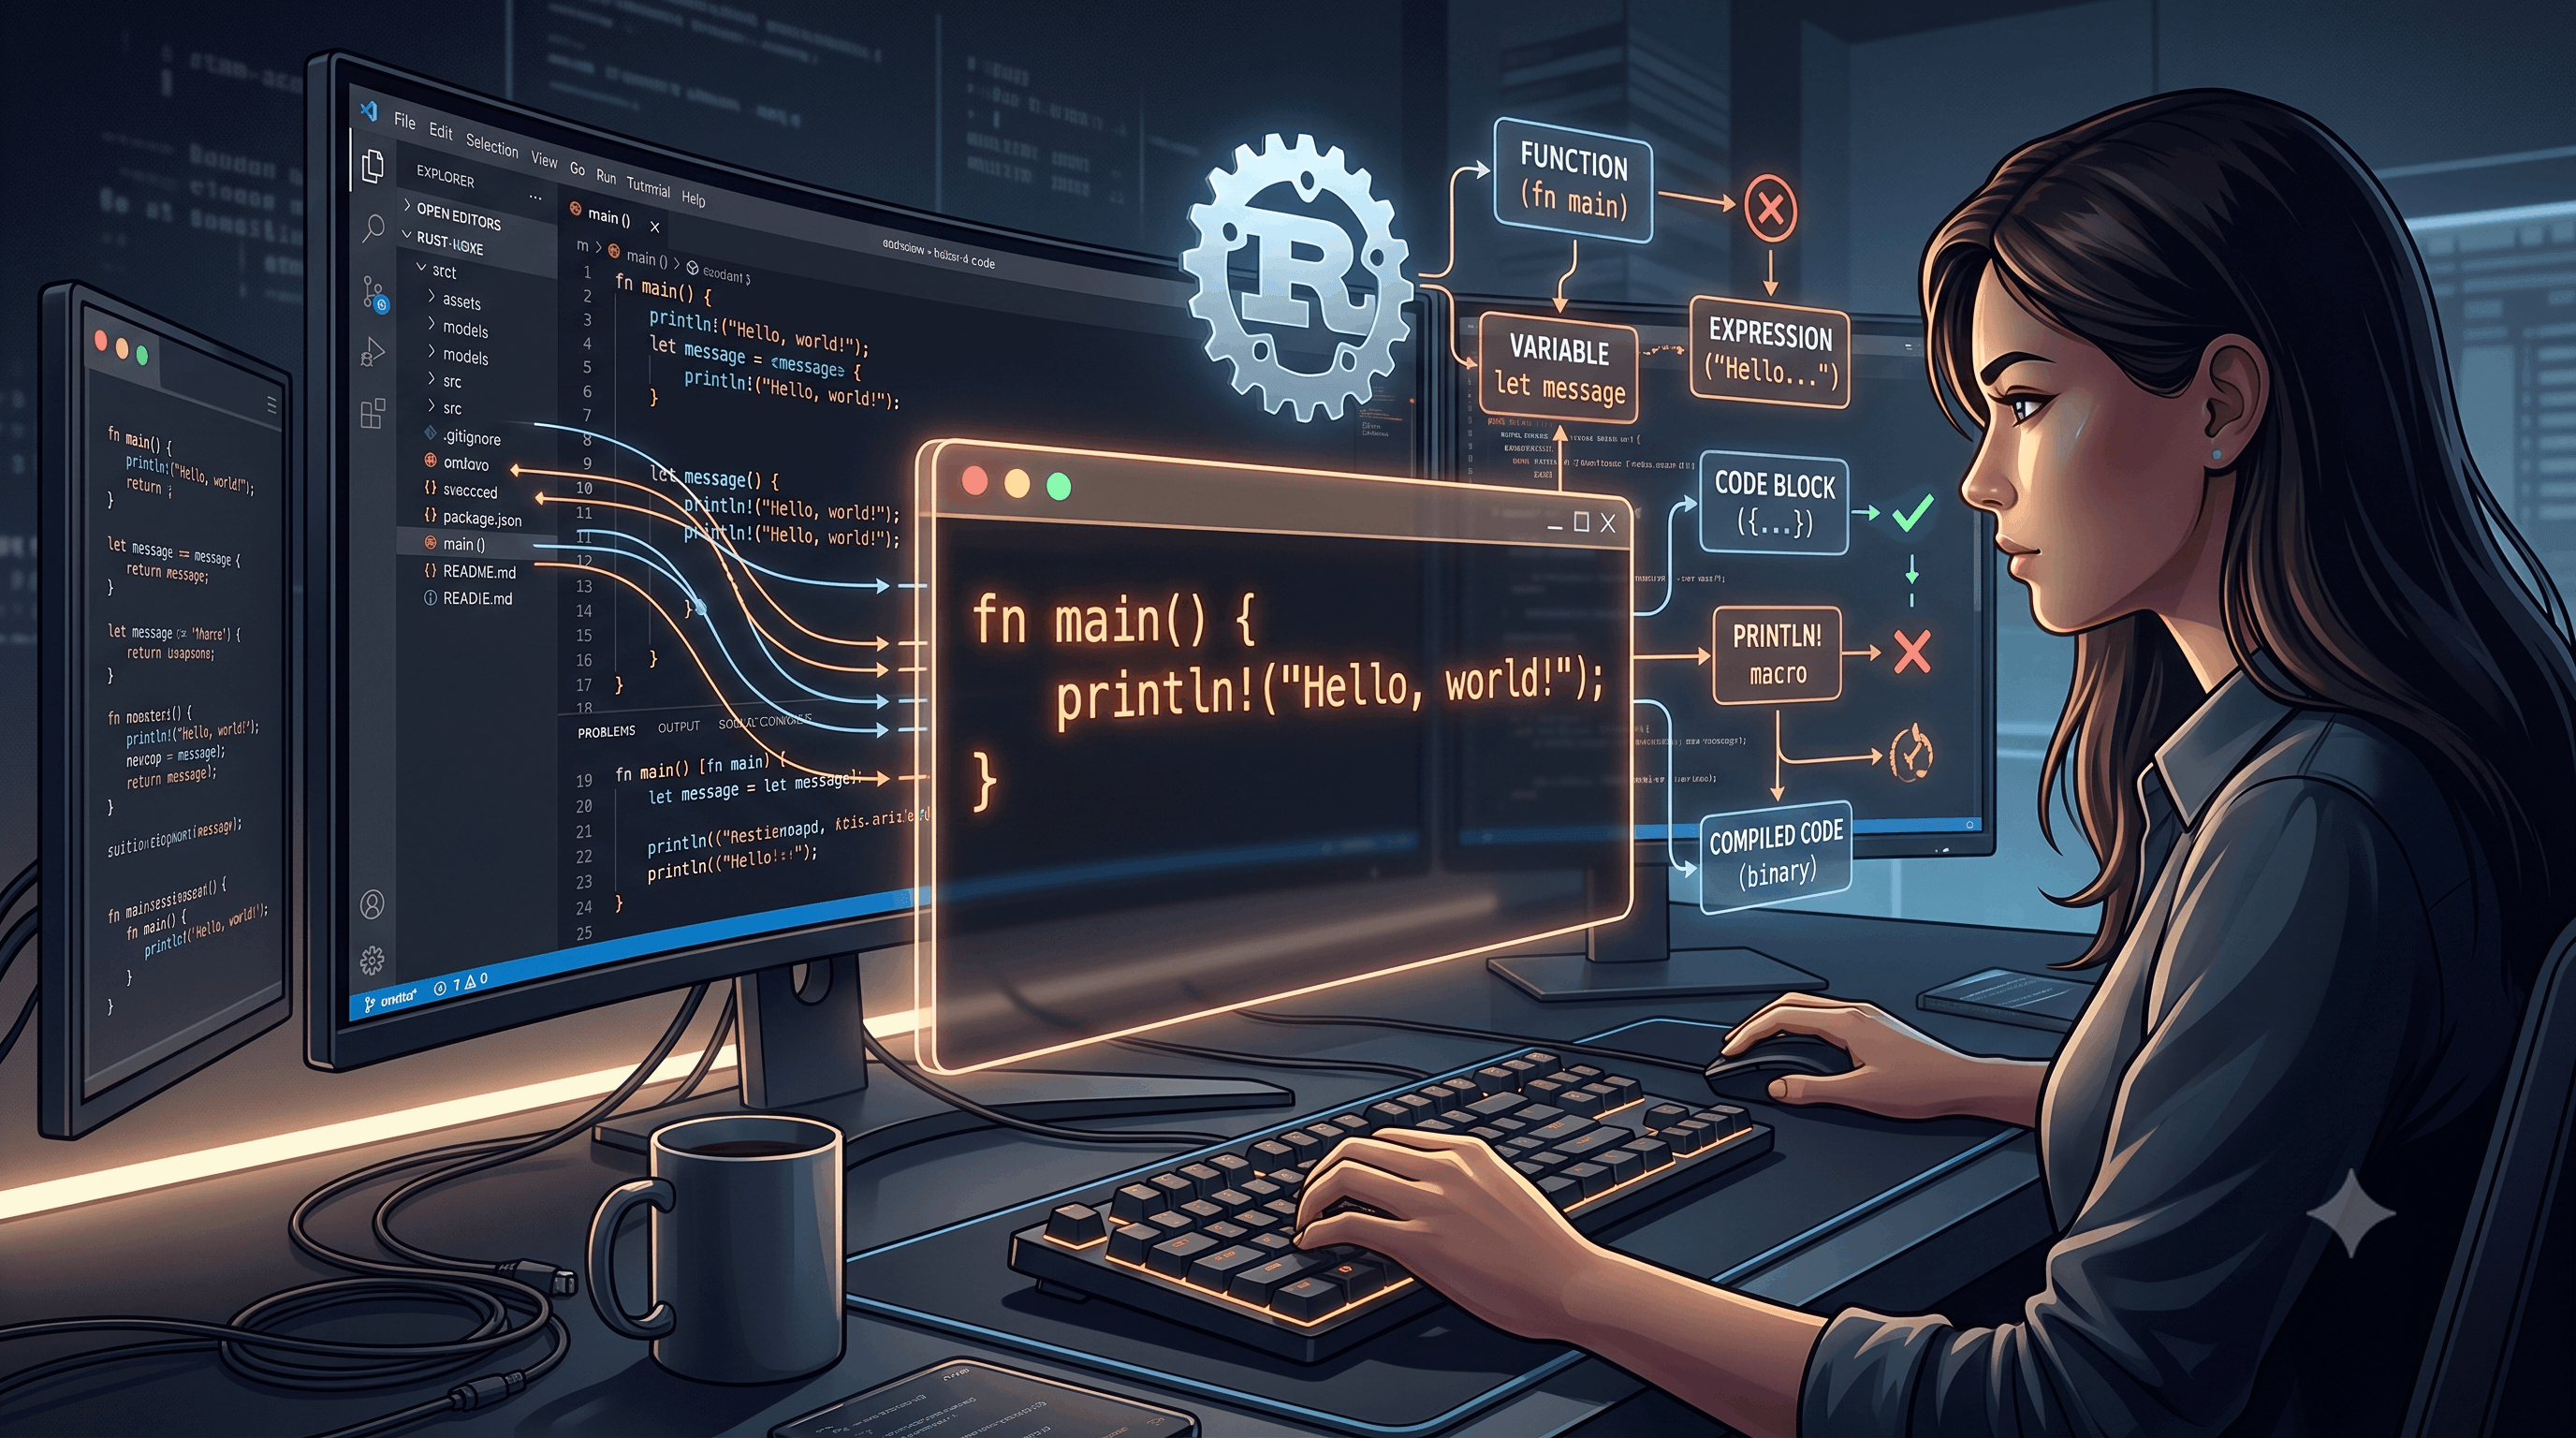
In the previous article, we installed Rust and created our development environment using rustup and Cargo.
Now it's time to actually start programming.
Rust may look unfamiliar at first, especially if you're coming from languages such as JavaScript, Python, Java, PHP, or C++.
But the fundamentals are straightforward once you understand the structure.
In this article, we'll build your foundation by learning:
main functionprintln!By the end, you should be comfortable reading and writing simple Rust programs.
Let's start with the classic Rust program:
fn main() {
    println!("Hello, Rust!");
}
It looks simple, but there is already a lot to understand.
Let's break it apart.
fn main()The first part is:
fn main()fn is Rust's keyword for defining a function.
main is the name of the function.
So:
fn main()means:
Define a function called
main.
The curly braces contain the function's body:
fn main() {
    // Code goes here
}
For a normal Rust executable, execution begins with the main function.
You can think of it as the starting point of your application.
A function is a reusable block of code that performs a specific task.
For example:
fn greet() {
    println!("Hello!");
}
However, simply defining a function doesn't automatically execute it.
You need to call it:
fn greet() {
    println!("Hello!");
}

fn main() {
    greet();
}
Output:
Hello!This distinction is important:
fn greet() {
    println!("Hello!");
}
defines the function.
While:
greet();calls the function.
println! MacroOur first program contains:
println!("Hello, Rust!");println! prints text to the terminal and adds a newline after it.
For example:
fn main() {
    println!("Hello");
    println!("Rust");
}
Output:
Hello
Rust
Notice the exclamation mark:
println!The ! indicates that println! is a macro rather than a normal function.
Don't worry about macros yet.
We'll study them in detail much later in the series.
For now, remember:
println!is commonly used to print information to the terminal.
You can use placeholders inside println!.
For example:
fn main() {
    let name = "Rahul";

    println!("Hello, {}", name);
}
Output:
Hello, RahulThe {} is a formatting placeholder.
Rust replaces it with the value supplied after the string.
You can use multiple placeholders:
fn main() {
    let name = "Rahul";
    let age = 30;

    println!("My name is {} and I am {} years old.", name, age);
}
Output:
My name is Rahul and I am 30 years old.Rust matches the placeholders with the supplied values.
Rust also supports inline formatting using captured variables:
fn main() {
    let name = "Rust";

    println!("Learning {name} is exciting!");
}
Output:
Learning Rust is exciting!This is a convenient feature of modern Rust.
You'll see both styles throughout Rust codebases.
Comments are text written for developers rather than the compiler.
Rust supports two common types of comments.
Use //:
fn main() {
    // Print a greeting
    println!("Hello, Rust!");
}
Everything after // on that line is treated as a comment.
Rust also supports block comments:
/*
    This is a multi-line comment.
    It can span multiple lines.
*/

fn main() {
    println!("Hello, Rust!");
}
Comments can help explain complicated logic.
However, don't comment every obvious line.
Prefer code that is naturally understandable.
A statement performs an action.
For example:
let name = "Rust";This creates a variable.
Another example:
println!("Hello");calls a macro.
Many Rust statements end with a semicolon:
let x = 10;
let y = 20;
println!("{}", x + y);
The semicolon is an important part of Rust syntax.
But there is an interesting exception.
Some Rust constructs are expressions, and expressions can return values.
This distinction is one of the most important concepts in Rust.
An expression evaluates to a value.
For example:
5 + 3is an expression.
It evaluates to:
8Another example:
{
    10 + 20
}
evaluates to:
30Rust uses expressions extensively.
Consider:
let x = 10;The let declaration is a statement.
But:
10 + 20is an expression.
A useful way to think about it is:
Statements perform actions; expressions produce values.
This distinction becomes extremely important when working with functions, if, match, and closures.
Consider:
fn add() -> i32 {
    10 + 20
}
The function returns 30.
But if you write:
fn add() -> i32 {
    10 + 20;
}
you have added a semicolon.
The expression is now treated as a statement, and the function no longer implicitly returns 30.
This is one of the first Rust syntax details beginners need to understand.
Rust allows the final expression of a function to be returned without writing return.
For example:
fn add() -> i32 {
    10 + 20
}
The result is:
30You can also explicitly return:
fn add() -> i32 {
    return 10 + 20;
}
Both are valid.
Rust code often prefers the expression-based style:
fn add() -> i32 {
    10 + 20
}->Look at:
fn add() -> i32 {
    10 + 20
}
The part:
-> i32specifies the function's return type.
It means:
This function returns a 32-bit signed integer.
We'll study Rust's data types in detail in the next few articles.
For now, simply understand that:
fn add() -> i32declares a function that returns an i32.
Let's create a variable:
fn main() {
    let name = "Rust";

    println!("{name}");
}
The keyword:
letcreates a variable binding.
Here:
let name = "Rust";means that name refers to the string "Rust".
This is one of Rust's important design choices.
Consider:
fn main() {
    let age = 25;

    age = 26;
}
Rust will reject this program.
Why?
Because variables are immutable by default.
If you want to change a variable, explicitly mark it as mutable.
Use mut:
fn main() {
    let mut age = 25;

    age = 26;

    println!("{age}");
}
Output:
26The keyword:
mutmeans the variable can be modified.
This explicitness helps Rust prevent accidental changes.
Imagine a large application with hundreds of variables.
If every variable could be modified at any point, understanding the program could become difficult.
Rust instead encourages:
let value = 100;when the value should not change.
And:
let mut value = 100;when modification is intentional.
The programmer makes the decision explicit.
Rust also supports something called shadowing.
For example:
fn main() {
    let number = 10;

    let number = 20;

    println!("{number}");
}
Output:
20The second let creates a new binding that shadows the first one.
This is different from mutation.
Mutation:
let mut number = 10;
number = 20;
Shadowing:
let number = 10;
let number = 20;
With mutation, you're changing the value associated with an existing mutable binding.
With shadowing, you're creating a new binding with the same name.
This distinction becomes particularly useful when transforming values.
For example:
fn main() {
    let spaces = "   ";

    let spaces = spaces.len();

    println!("{spaces}");
}
The first spaces is a string.
The second spaces is a number.
Rust allows this because the second declaration creates a new binding.
A string literal can be written using double quotes:
let language = "Rust";The value:
"Rust"is a string literal.
You can print it:
println!("{language}");Strings become much more interesting when we discuss ownership, borrowing, and the String type.
For now, distinguish between:
"Rust"and:
String::from("Rust")They are not the same thing.
We'll explore the difference later.
Rust supports several numeric types.
For example:
let age = 30;
let price = 99.99;
Rust can infer many types automatically.
You can also explicitly specify them:
let age: i32 = 30;Here:
i32is the type.
We'll dedicate an entire article to Rust's data types, so don't worry about memorizing them yet.
Rust supports standard arithmetic operators.
fn main() {
    let a = 10;
    let b = 5;

    println!("Addition: {}", a + b);
    println!("Subtraction: {}", a - b);
    println!("Multiplication: {}", a * b);
    println!("Division: {}", a / b);
    println!("Remainder: {}", a % b);
}
Output:
Addition: 15
Subtraction: 5
Multiplication: 50
Division: 2
Remainder: 0
The % operator gives the remainder.
Rust is a statically typed language.
This means types are checked during compilation.
For example:
let age: i32 = 30;Rust knows that age is an i32.
You don't always have to explicitly write the type because Rust can often infer it.
For example:
let age = 30;The compiler can determine an appropriate integer type based on context.
This feature is called type inference.
You can explicitly specify a type:
let age: i32 = 30;The general syntax is:
let variable_name: Type = value;For example:
let score: i32 = 95;
let price: f64 = 99.50;
let active: bool = true;
We'll explore each of these types later.
Let's create a simple function:
fn greet() {
    println!("Welcome to Rust!");
}

fn main() {
    greet();
}
Execution begins at:
main()Then main calls:
greet()The program prints:
Welcome to Rust!Functions can accept data.
fn greet(name: &str) {
    println!("Hello, {name}!");
}

fn main() {
    greet("Rahul");
}
Output:
Hello, Rahul!The function parameter is:
name: &strWe'll explain &str properly when we study strings and borrowing.
For now, understand the general structure:
fn function_name(parameter: Type)A function can return a value.
fn add(a: i32, b: i32) -> i32 {
    a + b
}

fn main() {
    let result = add(10, 20);

    println!("{result}");
}
Output:
30The function:
fn add(a: i32, b: i32) -> i32accepts two integers and returns an integer.
Let's combine what we've learned.
fn add(a: i32, b: i32) -> i32 {
    a + b
}

fn subtract(a: i32, b: i32) -> i32 {
    a - b
}

fn multiply(a: i32, b: i32) -> i32 {
    a * b
}

fn main() {
    let a = 20;
    let b = 5;

    println!("Addition: {}", add(a, b));
    println!("Subtraction: {}", subtract(a, b));
    println!("Multiplication: {}", multiply(a, b));
}
Output:
Addition: 25
Subtraction: 15
Multiplication: 100
This tiny program already demonstrates:
mainCurly braces define blocks of code.
For example:
fn main() {
    println!("Inside main");
}
The braces define the body of main.
Blocks can also produce values:
let result = {
    let a = 10;
    let b = 20;

    a + b
};
Now:
resultcontains:
30Notice again that the final expression has no semicolon:
a + bTherefore, it becomes the value of the block.
Rust follows common naming conventions.
Variables and functions generally use:
snake_caseExamples:
let user_name = "Rahul";

fn calculate_total() {
}
Types generally use:
PascalCaseFor example:
struct UserAccount {
}
We'll learn structs later.
Following Rust's conventions makes your code look familiar to other Rust developers.
Let's create a slightly larger program:
fn calculate_total(price: f64, quantity: f64) -> f64 {
    price * quantity
}

fn main() {
    let product = "Laptop";
    let price = 75000.0;
    let quantity = 2.0;

    let total = calculate_total(price, quantity);

    println!("Product: {product}");
    println!("Price: ₹{price}");
    println!("Quantity: {quantity}");
    println!("Total: ₹{total}");
}
This program demonstrates several fundamental Rust concepts together.
When you run:
cargo runCargo starts the build process.
Conceptually:
Rust source code
       ↓
Cargo
       ↓
Rust compiler
       ↓
Machine code
       ↓
Executable
       ↓
Program runs
The compiler performs extensive checks before producing the executable.
This is one of the fundamental differences between writing Rust and working with many interpreted languages.
As you learn Rust, you will make mistakes.
That's normal.
For example:
fn main() {
    let mut number = 10;

    number = "Rust";
}
Rust will reject this because number was initially inferred as an integer, but you're attempting to assign a string to it.
Instead of allowing potentially inconsistent behavior, the compiler catches the problem.
Rust's compiler messages are often detailed enough to help you understand what went wrong.
Learning to read compiler errors is an important Rust skill.
You may write:
let name = "Rust"instead of:
let name = "Rust";The compiler will point out the problem.
This won't work:
let age = 20;
age = 21;
Use:
let mut age = 20;
age = 21;This:
fn add() -> i32 {
    10 + 20
}
returns 30.
But:
fn add() -> i32 {
    10 + 20;
}
does not return the integer expression.
This is a very common beginner mistake.
Before moving forward, try these exercises yourself.
Create a program that prints:
My name is Rahul.
I am learning Rust.
Rust is powerful.Create two variables:
length = 10
width = 5
Calculate the area of a rectangle.
Create a function:
square(number)that returns the square of a number.
For example:
square(5) → 25Create a function that accepts a person's name and prints:
Hello, NAME!
Welcome to Rust.Build a calculator with functions for:
Don't worry about user input yet.
We'll learn input handling later.
You now understand the fundamental structure of Rust programs.
You learned:
fnmainprintln!letmutThese concepts may look simple, but they form the foundation for everything that follows.
Pixels to Perfection Design that Impresses