Rahul
 LeetCode #155: Min Stack — Design a Stack with O(1) Minimum Retrieval
 LeetCode #20: Valid Parentheses — Master the Stack Pattern
 LeetCode #15: 3Sum — Master Sorting, Two Pointers and Duplicate Handling
 Instruction vs Context in AI Prompts: How to Tell AI What to Do and What Information to Use
 Rust Structs and Enums: Building Powerful Data Models
 Dissecting the High-Level System Architecture of Booking.com
 Kanban vs. Scrum: Which Agile Methodology to Choose?
 The Scaling Journey of LinkedIn: From Startup to Professional Powerhouse
 Mastering Code Review: A Guide for Reviewers and PR Creators
 ChatGPT: Unveiling the Power of AI in Conversational Experiences with Kairos Coders

Kairos Coders are here to help
In the previous article, we explored what Rust is, why it was created, where it is used, and why developers are choosing it for high-performance and reliable software development.
Now it's time to get practical.
Before writing serious Rust programs, you need a properly configured development environment.
Fortunately, Rust makes this process relatively simple.
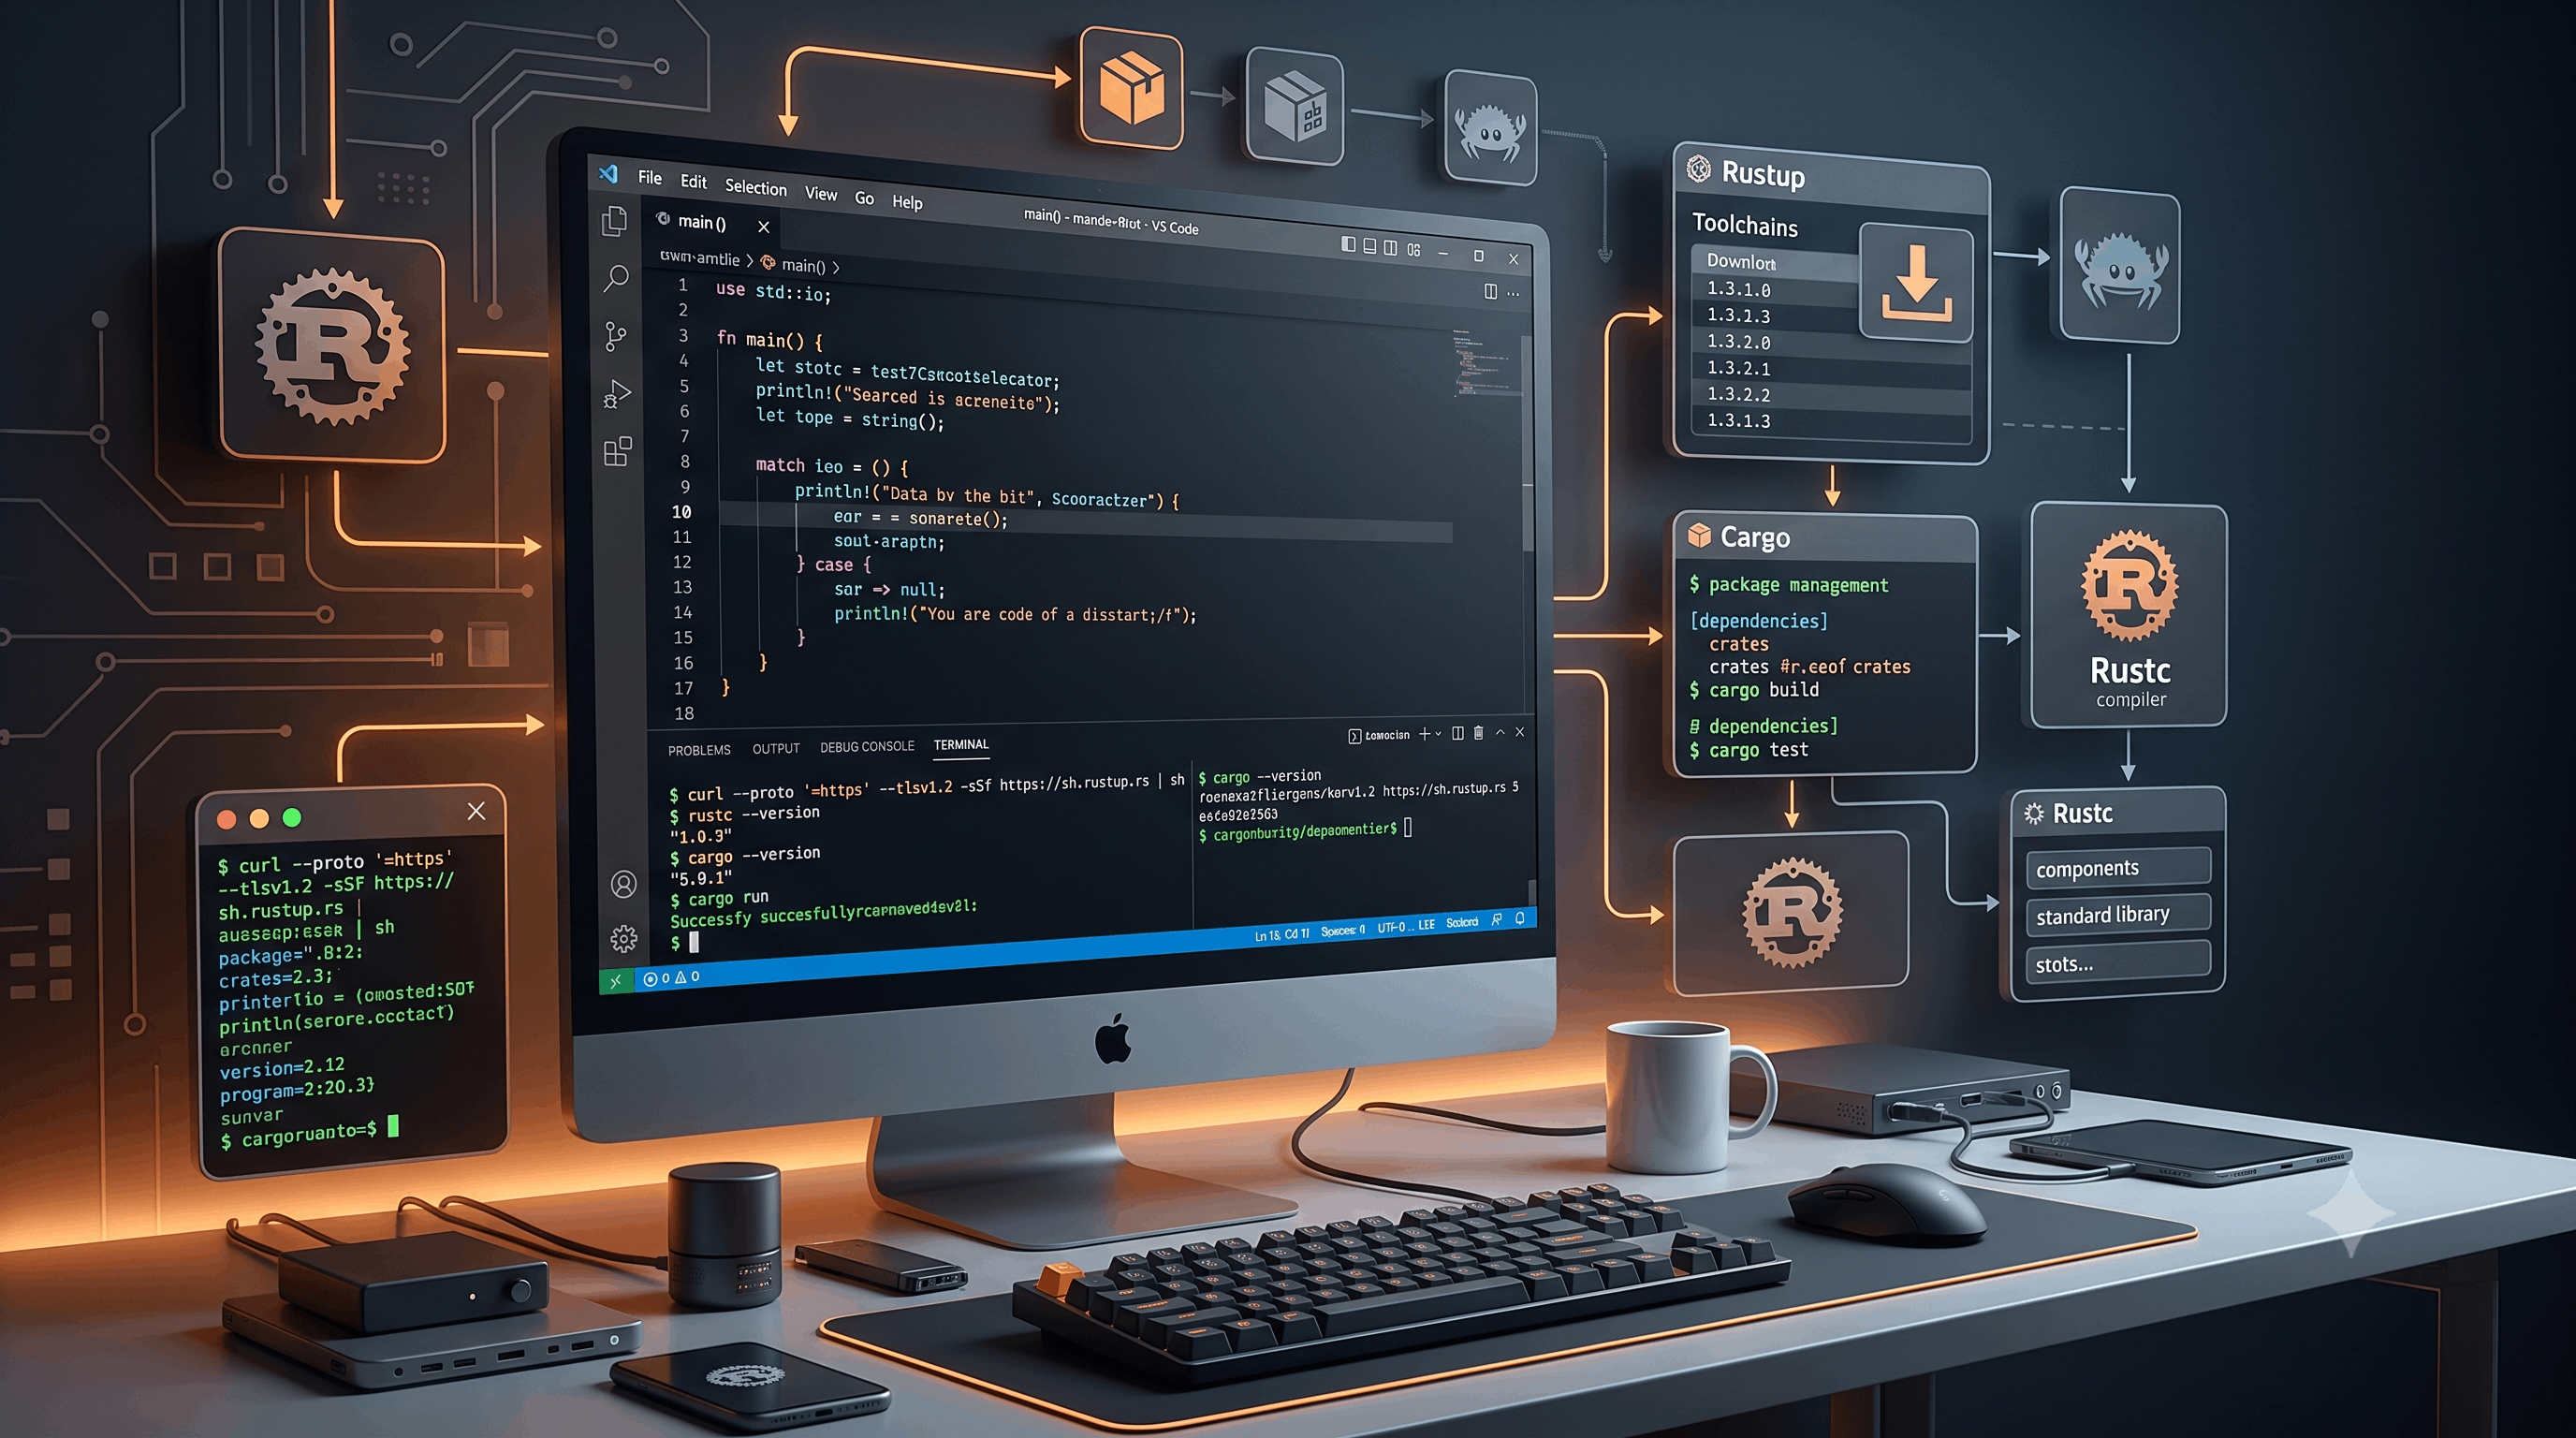
The recommended way to install Rust is through rustup, the official Rust toolchain installer and version manager.
In this article, you'll learn how to:
rustuprustcBy the end, you'll have everything required to start programming in Rust.
You don't need an expensive computer or complicated setup.
At a minimum, you'll need:
Rust supports major operating systems including:
The installation process differs slightly between them, but rustup makes managing Rust versions and toolchains much easier.
Before installing Rust, you should understand rustup.
rustup is the official Rust toolchain installer and manager.
It allows you to:
Instead of manually downloading compiler files, you can use rustup to manage your Rust environment.
This becomes particularly useful when working on multiple projects that require different Rust versions or compilation targets.
A Rust toolchain is the collection of tools required to build Rust programs.
The most important components include:
rustcThe Rust compiler.
It converts Rust source code into executable machine code.
cargoRust's build system and package manager.
It manages:
rustupThe toolchain manager.
It manages Rust installations and versions.
You can think about them like this:
rustup
   ↓
Manages Rust toolchains
   ↓
rustc + cargo
   ↓
Build and manage Rust applicationsThe recommended installation method for macOS and Linux is rustup.
Open your terminal and run:
curl --proto '=https' --tlsv1.2 -sSf https://sh.rustup.rs | shThe installer will guide you through the installation process.
In most cases, the default installation is exactly what you want.
After installation, restart your terminal or reload your shell configuration.
Then check your Rust version:
rustc --versionYou should see output similar to:
rustc 1.x.xThe exact version will depend on the current stable Rust release installed on your system.
Windows users can also install Rust using rustup.
The official installer provides the necessary setup.
During installation, Rust may require Microsoft's C++ build tools.
These tools are used by Rust for compiling native code on Windows.
After installation, open PowerShell or Command Prompt and run:
rustc --versionThen check Cargo:
cargo --versionIf both commands return version information, your installation is working.
After installing Rust, it's a good idea to verify all the important components.
Run:
rustc --versionThen:
cargo --versionAnd:
rustup --versionYou should receive version information for all three.
You can also run:
rustup showThis displays information about your active Rust toolchain.
rustcrustc is the Rust compiler.
Suppose you create a file called:
main.rswith:
fn main() {
    println!("Hello, Rust!");
}
You can compile it directly using:
rustc main.rsRust will compile the source code into an executable.
You can then run that executable.
This demonstrates the basic compilation process:
main.rs
   ↓
rustc
   ↓
Machine code
   ↓
Executable
However, you generally won't want to manage larger projects using rustc directly.
That's where Cargo comes in.
Cargo is one of Rust's biggest productivity advantages.
It is Rust's official:
Instead of manually compiling individual files, Cargo manages the entire project.
You'll use commands such as:
cargo new
cargo build
cargo run
cargo test
cargo check
cargo fmt
cargo clippy
You'll become very familiar with these commands throughout this series.
Let's create an actual Rust project.
Open your terminal and run:
cargo new hello_rustCargo will create a new project named:
hello_rustMove into the project:
cd hello_rustYour project will look something like this:
hello_rust/
├── Cargo.toml
└── src/
    └── main.rs
This is the basic structure of a Rust binary application.
Cargo.tomlOpen:
Cargo.tomlYou'll see something similar to:
[package]
name = "hello_rust"
version = "0.1.0"
edition = "2024"

[dependencies]
The exact edition or generated metadata can vary with your installed Cargo version.
Let's understand the important parts.
[package] SectionThe [package] section contains information about your Rust package.
For example:
[package]
name = "hello_rust"
version = "0.1.0"
edition = "2024"nameThe name of your package.
versionThe current package version.
editionThe Rust language edition used by the project.
Rust editions allow the language to evolve while maintaining compatibility with existing code.
[dependencies] SectionThis section contains external packages your application depends on.
For example:
[dependencies]
serde = "1"
This tells Cargo that the project depends on the serde crate.
Cargo can then download and compile the dependency as part of your project.
We'll explore dependencies and crates in much greater detail later.
For now, remember:
Cargo.toml
    ↓
Project configuration
    ↓
Dependencies + package informationsrc/main.rsNow open:
src/main.rsCargo generates a basic program:
fn main() {
    println!("Hello, world!");
}
This is your application's entry point.
Change it to:
fn main() {
    println!("Welcome to Rust!");
}
Save the file.
Now you're ready to run it.
From the project directory, run:
cargo runCargo will compile your program and execute it.
You should see:
Welcome to Rust!Congratulations.
You've just created and executed your first Cargo-managed Rust application.
cargo run?Several things happen behind the scenes.
Conceptually:
cargo run
    ↓
Read Cargo.toml
    ↓
Resolve dependencies
    ↓
Compile source code
    ↓
Create executable
    ↓
Run executable
Cargo handles the complexity for you.
This becomes extremely useful as your projects grow.
You can compile your application without running it.
Use:
cargo buildCargo will compile your project and store the generated build artifacts.
The default development build is placed under:
target/debug/You may find an executable such as:
target/debug/hello_rustThe exact executable layout differs between operating systems.
Rust provides different build profiles.
When you run:
cargo buildCargo creates a development build.
For production-oriented optimized builds, use:
cargo build --releaseThe optimized output is placed under:
target/release/Conceptually:
Development
cargo build
      ↓
target/debug/

Production
cargo build --release
      ↓
target/release/
Release builds enable optimizations that can significantly improve runtime performance.
--release?During development, compilation speed matters.
You frequently change code and rebuild your application.
Debug builds generally prioritize faster compilation and useful debugging information.
Release builds prioritize optimized executable performance.
Therefore, the typical workflow is:
cargo runwhile developing.
And:
cargo build --releasewhen preparing optimized builds.
cargo checkOne of the most useful Rust commands is:
cargo checkIt checks whether your project compiles without producing the final executable.
This makes it very useful during development.
For example:
cargo checkIf there are no compilation errors, Cargo reports that the project finished successfully.
You can use this repeatedly while writing code.
cargo run vs cargo build vs cargo checkThese commands have different purposes.
| Command | Purpose |
|---|---|
cargo check | Check whether code compiles |
cargo build | Compile the application |
cargo run | Compile and execute |
cargo build --release | Create optimized build |
cargo test | Run tests |
cargo fmt | Format source code |
cargo clippy | Run Rust lints |
A common development cycle looks like:
Write code
   ↓
cargo check
   ↓
Fix errors
   ↓
cargo run
   ↓
Test applicationRust provides an official formatter called rustfmt.
You can format your project with:
cargo fmtFor example, poorly formatted code like:
fn main(){println!("Hello Rust!");}can be formatted into:
fn main() {
    println!("Hello Rust!");
}
Consistent formatting makes code easier to read and maintain.
cargo fmt MattersFormatting may seem like a small detail.
In large teams, however, inconsistent formatting can create unnecessary problems.
Rust's formatter provides a common standard.
Instead of debating:
"How should this code be formatted?"
the team can simply run:
cargo fmtEveryone gets consistent formatting.
Rust also provides a powerful linting tool called Clippy.
Clippy identifies patterns that may indicate:
You can run it with:
cargo clippyFor example, Clippy might suggest a more idiomatic way of writing a piece of Rust code.
As you become more experienced, Clippy becomes an excellent tool for improving code quality.
A productive Rust environment should contain:
The language and compiler.
Toolchain manager.
Build and dependency management.
Automatic formatting.
Linting and code-quality suggestions.
A development environment with Rust support.
Together:
rustup
  │
  ├── rustc
  ├── cargo
  ├── rustfmt
└── clippyYou can write Rust in almost any text editor.
However, an editor with Rust language support makes development much easier.
Popular options include:
For beginners, Visual Studio Code is a practical option because of its extensive extension ecosystem.
Rust-aware tooling can provide:
One of the most important tools for Rust development is rust-analyzer.
It provides language-server functionality for Rust editors.
It can provide:
Instead of constantly compiling your application to discover basic issues, your editor can often highlight them while you type.
This makes learning Rust significantly more interactive.
As your projects become more sophisticated, you may encounter structures such as:
my_project/
├── Cargo.toml
├── Cargo.lock
├── src/
│   ├── main.rs
│   ├── lib.rs
│   └── modules/
├── tests/
├── examples/
└── target/
Don't worry if these directories don't make sense yet.
We'll gradually introduce each one.
For now, focus on:
Cargo.toml
src/main.rs
These are the most important pieces of your first application.
When Cargo resolves dependencies, it records the exact versions selected for the project in:
Cargo.lockThis helps make builds reproducible.
For example, your project may depend on a library with version requirements.
Cargo resolves the dependency tree and records the exact versions.
This is particularly important for applications where reproducible builds matter.
Cargo can create more than executable applications.
You can create a library with:
cargo new my_library --libThis produces a structure similar to:
my_library/
├── Cargo.toml
└── src/
    └── lib.rs
The key difference is:
Binary project
src/main.rs

Library project
src/lib.rs
We'll explore libraries later in the series.
You can also let Cargo create the directory and then enter it:
cargo new rust_project
cd rust_project
This is the standard workflow you'll use repeatedly.
One advantage of Cargo is that you don't need to manually run:
rustc main.rsevery time.
Instead:
cargo runhandles the build process.
This becomes especially useful when your project has:
Cargo understands the project structure and manages the compilation process.
Rust releases updates regularly.
Because you're using rustup, updating your toolchain is straightforward.
Run:
rustup updateThis checks for and installs available toolchain updates.
You can check your active toolchain with:
rustup showRust has different release channels.
The three primary channels are:
The recommended choice for most developers.
stableThe upcoming stable release.
betaContains experimental and unstable features.
nightlyAs a beginner, stick with stable Rust.
Nightly becomes relevant later when you need specific unstable features or are experimenting with Rust internals.
Rustup allows you to manage multiple toolchains.
For example:
rustup toolchain install nightlyYou could then use nightly for a specific project.
However, don't switch away from stable simply because you're learning Rust.
Most of this series will work with stable Rust.
If you're experiencing problems, these commands are useful:
rustc --versioncargo --versionrustup showrustup updateYou can also check whether Cargo can successfully compile a new project:
cargo new test_project
cd test_project
cargo run
If that produces:
Hello, world!your Rust environment is ready.
rustc: command not foundThis usually means Rust isn't available in your shell's PATH.
Restart your terminal after installing Rust.
If necessary, reload your shell configuration.
Try:
cargo --versionIf it fails, verify your rustup installation:
rustup showThen restart your terminal.
On Windows, some Rust projects may require Microsoft C++ build tools.
If compilation complains about missing linker or native build components, install the required Microsoft development tools and try again.
The first build of a project can take longer because Cargo may need to download and compile dependencies.
Subsequent builds are often faster because Cargo caches compiled dependencies.
From now on, you can use this basic workflow:
cargo new my_projectcd my_projectOpen the directory in your preferred editor.
Edit:
src/main.rscargo checkcargo fmtcargo runcargo clippyThis workflow will become second nature.
Before moving to the next article, create a project called:
rust_introRun:
cargo new rust_intro
cd rust_intro
Replace the generated code with:
fn main() {
    println!("My name is Rust learner.");
    println!("I am starting my Rust journey.");
    println!("I will become a Rust developer.");
}
Then run:
cargo fmt
cargo check
cargo run
cargo clippy
If everything works, your development environment is ready.
Pixels to Perfection Design that Impresses